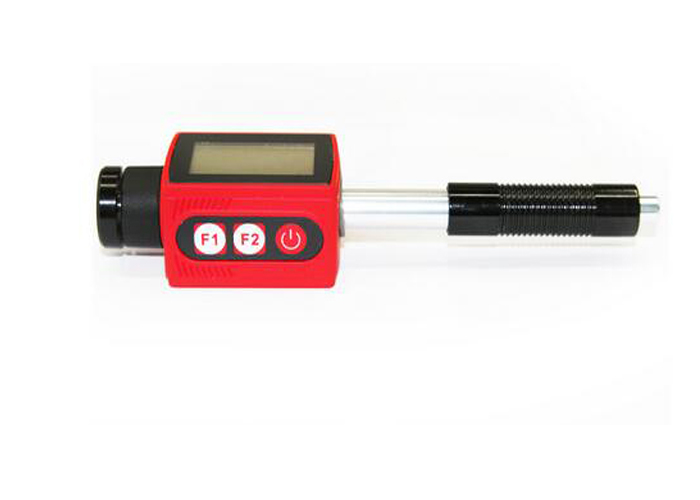
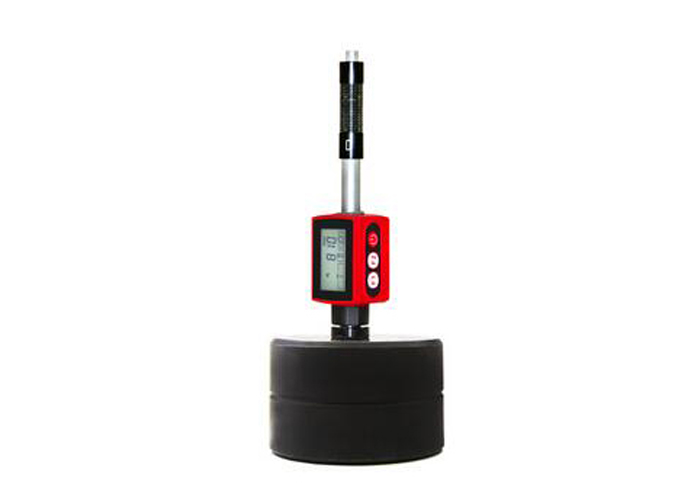
Introduction of MH100 Hardness Tester
MH100
Hardness Testera Advantages
Compact
and integrated. The impact device and the main body integrated together.
Wide
measuring range. Based on the principle of Leeb hardness testing theory. It can
measure the Leeb hardness of all metallic materials.
Large
screen LCD, showing all functions and parameters. With EL background light.
Test
at any angle, even upside down.
Direct
display of hardness scales HRB, HRC, HRA, HV, HB, HS, HL.
Large
memory could store 100 groups (Relative to average times 32~1
) information including single measured value, mean value, impact direction,
impact times, material and hardness scale etc.
Battery
information showing the rest capacity of the battery and the charge status.
User
calibration function.
Software
to connect to PC via USB port.
Li-Ion
rechargeable battery as the power source. Charge circuit integrated inside the
instrument. Continuous working period of no less than 200 hours (EL off and no
printing).
Auto
power off to save energy.
Outline
dimensions:148mm×33mm×28mm
Main Application of MH100 Hardness Tester
Die
cavity of molds
Bearings
and other parts
Failure
analysis of pressure vessel, steam generator and other equipment
Heavy
work piece
The
installed machinery and permanently assembled parts
Testing
surface of a small hollow space
Material
identification in the warehouse of metallic materials
Rapid
testing in large range and multi-measuring areas for large-scale work piece
Testing
Range of MH100 Hardness Tester
The
model includes D type, C type and DL type according to the impact device.
Testing
range refer to Table 1 and Table 2 in the Appendix.
Parameters of MH100 Hardness Tester
Error
and repeatability of displayed value see Table1-1 below.
Table
1-1
|
No.
|
Type
of impact device
|
Hardness
value of Leeb standard hardness block
|
Error
of displayed value
|
Repeatability
|
|
1
|
D
|
760±30HLD
530±40HLD
|
±6
HLD
±10
HLD
|
6
HLD
10
HLD
|
|
2
|
DL
|
878±30HLDL
736±40HLDL
|
±12
HLDL
|
12
HLDL
|
|
3
|
C
|
822±30HLC
590±40HLC
|
±12
HLC
|
12
HLC
|
Measuring
range:HLD(170~960)HLD
Measuring
direction:0°~360°
Hardness
Scale:HL、HB、HRB、HRC、HRA、HV、HS
Display:segment
LCD
Data
memory:100 groups max.(relative
to impact times 32~1)
Battery:
3.7V Li-Ion, Rechargeable
Battery
charger: 5V/500mA
Continuous
working period:about 200 hours(With
backlight off, no printing)
Communication
interface:USB1.1
1.4
Configuration
Table
1-2
|
|
No.
|
Item
|
Quantity
|
Remarks
|
|
Standard
Config.
|
1
|
Main
unit
|
1
|
D
type, C type and DL type optional
|
|
2
|
Standard
test block
|
1
|
|
|
3
|
USB
cable
|
1
|
For
comm. And charging
|
|
4
|
Battery
Charger
|
1
|
5V
500mA
|
|
5
|
Cleaning
brush I
|
1
|
|
|
6
|
Small
support ring
|
1
|
|
|
7
|
Li-Ion
battery
|
1
|
|
|
8
|
Manual
|
1
|
|
|
9
|
DataPro
software
|
1
|
|
|
10
|
Instrument
package case
|
1
|
|
|
Optional
Config.
|
11
|
Other
type of impact devices and support rings
|
|
Refer
to Table 3 and Table 4 in the appendix.
|
|
12
|
|
|
|
Working
Conditions
Working
temperature: -10℃~+50℃;
Storage
temperature:-30℃~+60℃;
Relative
humidity: ≤90%;
The
surrounding environment should avoid of vibration, strong magnetic field,
corrosive medium and heavy dust.
Safety
Instructions
The
instrument can only work with the specially designed battery pack and power
adapter (charger) supplied by Mitech Co. LTD. Working with others may result in
damage of the instrument, battery leakage, fire or even explosion.
Do
not cast the battery pack into fire and do not short circuit, disassemble or
heat the battery pack, otherwise battery leakage, fire or even explosion may
occur.
Images of MH100 Hardness Tester

